

Last updated October 31, 2026
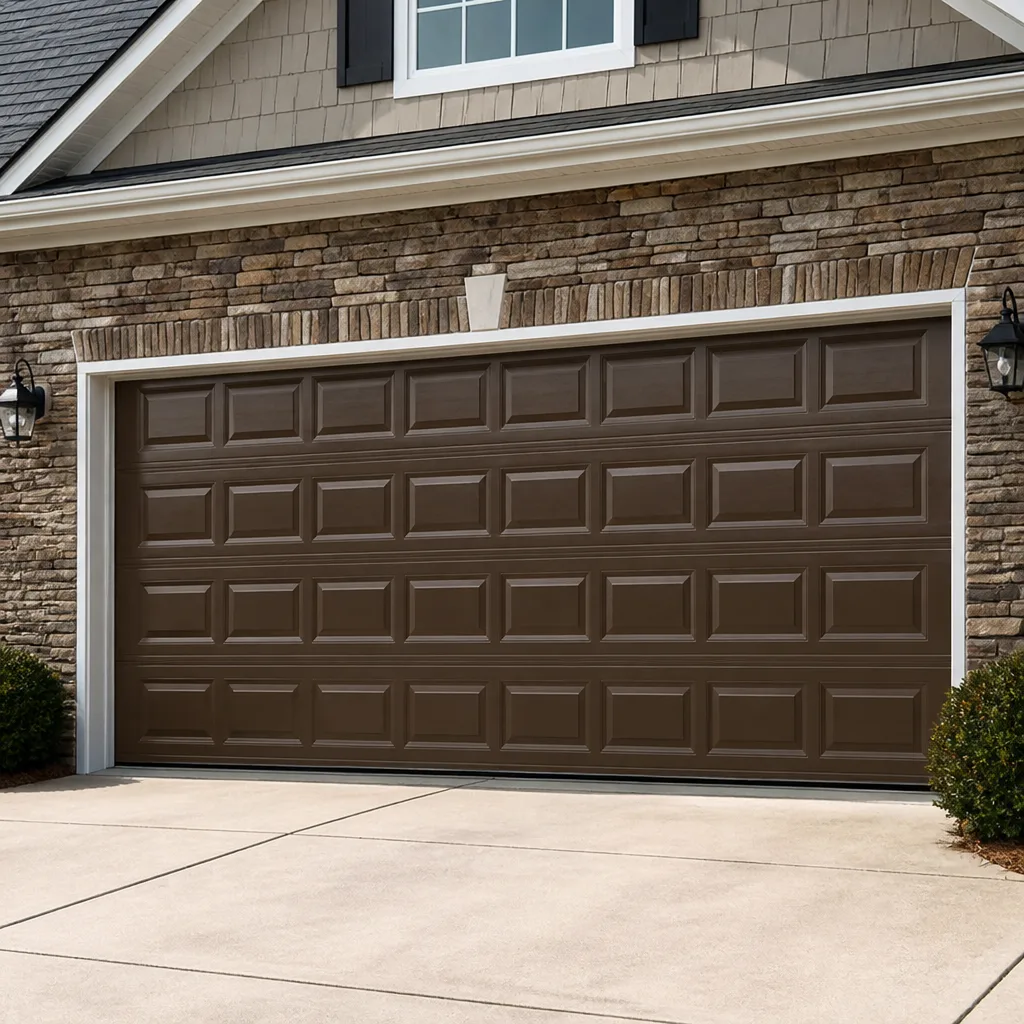 Raised-panel steel
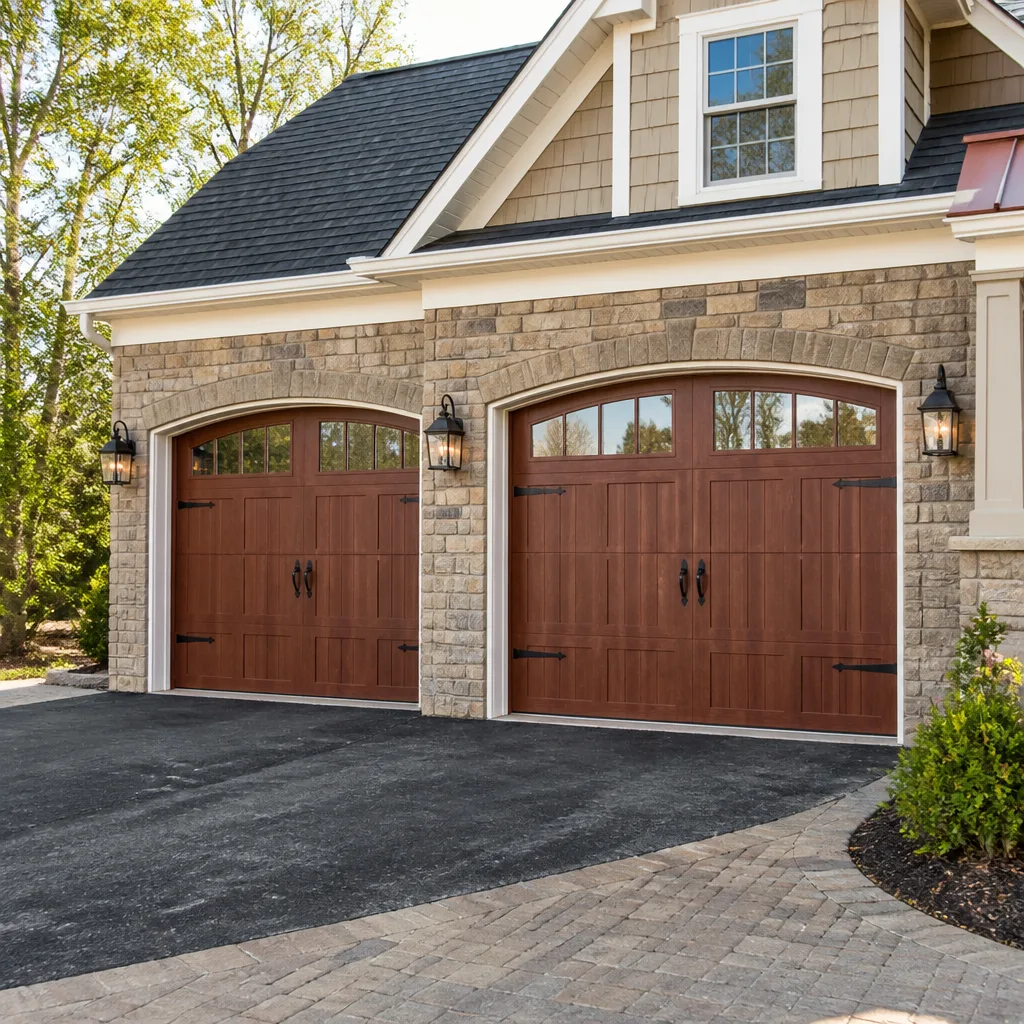 Carriage house
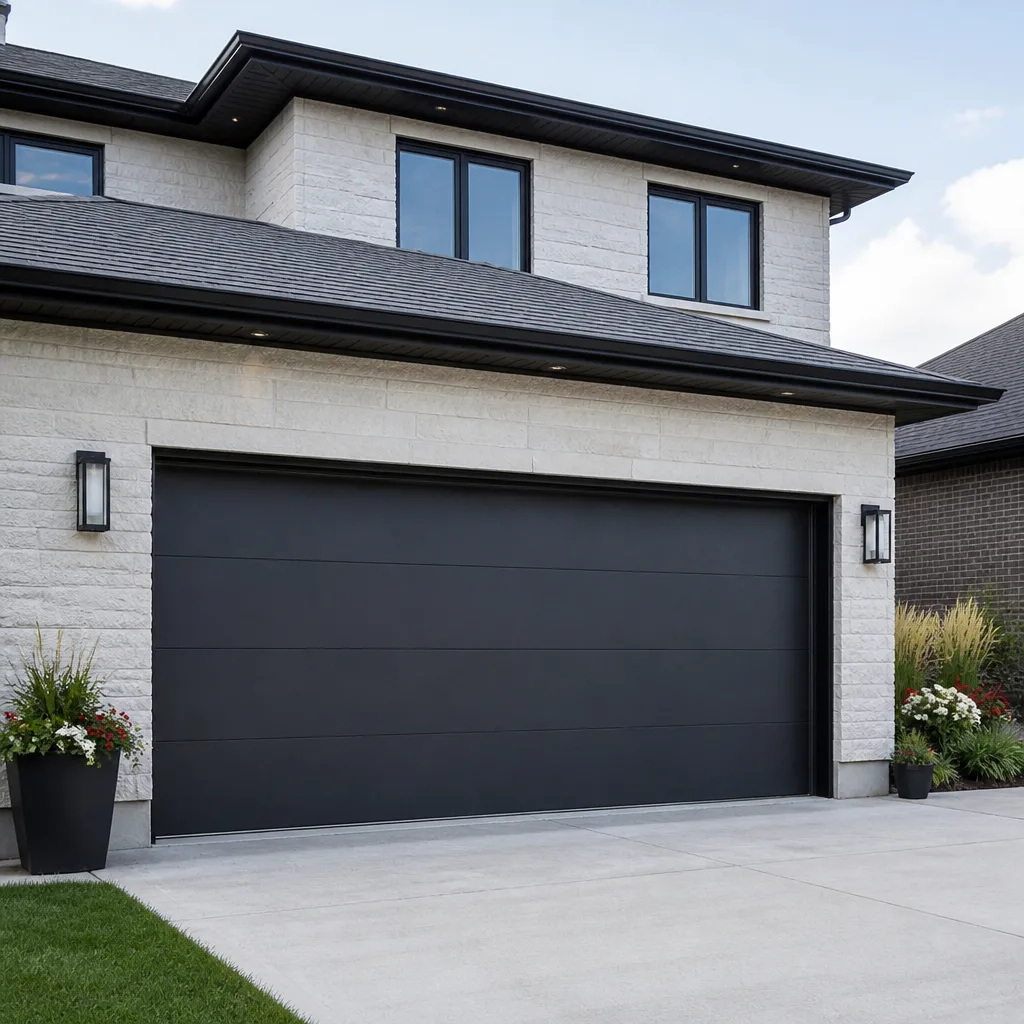 Modern flush
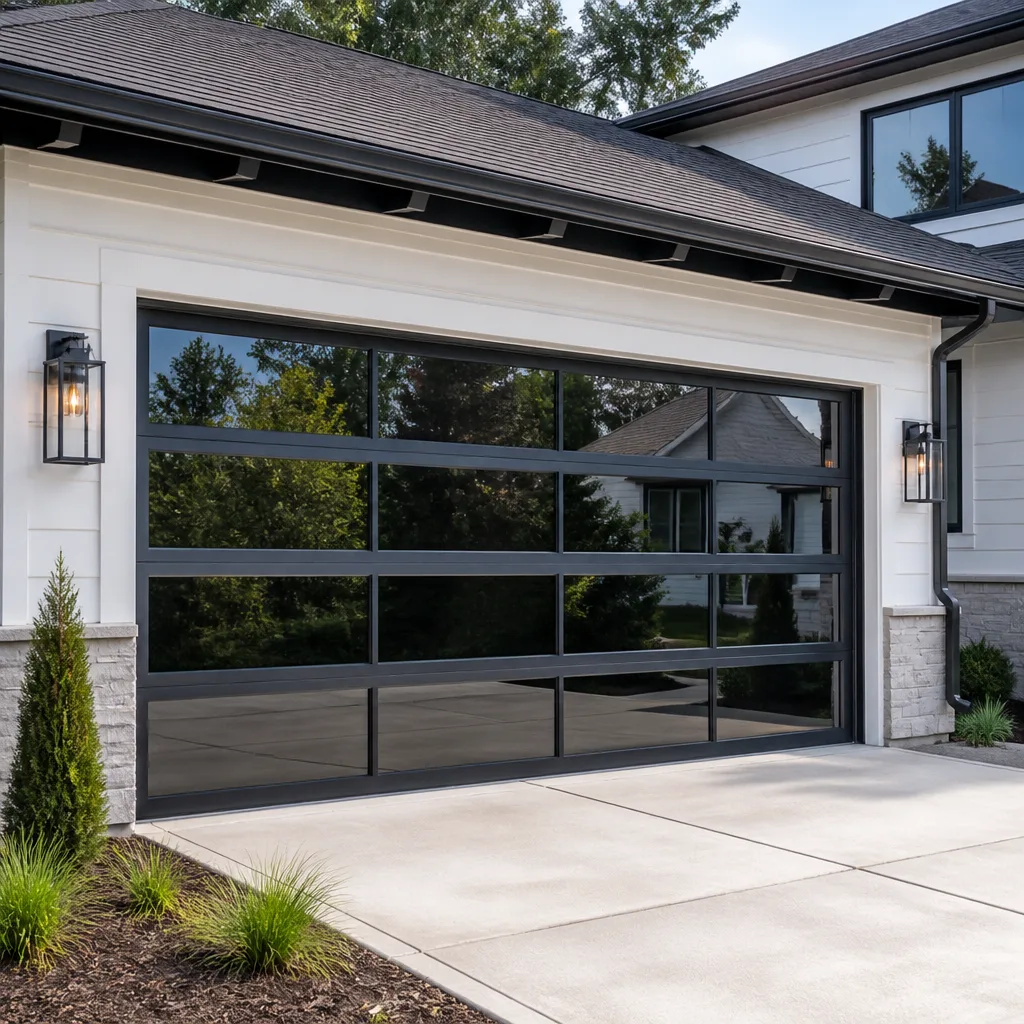 Full-view glass
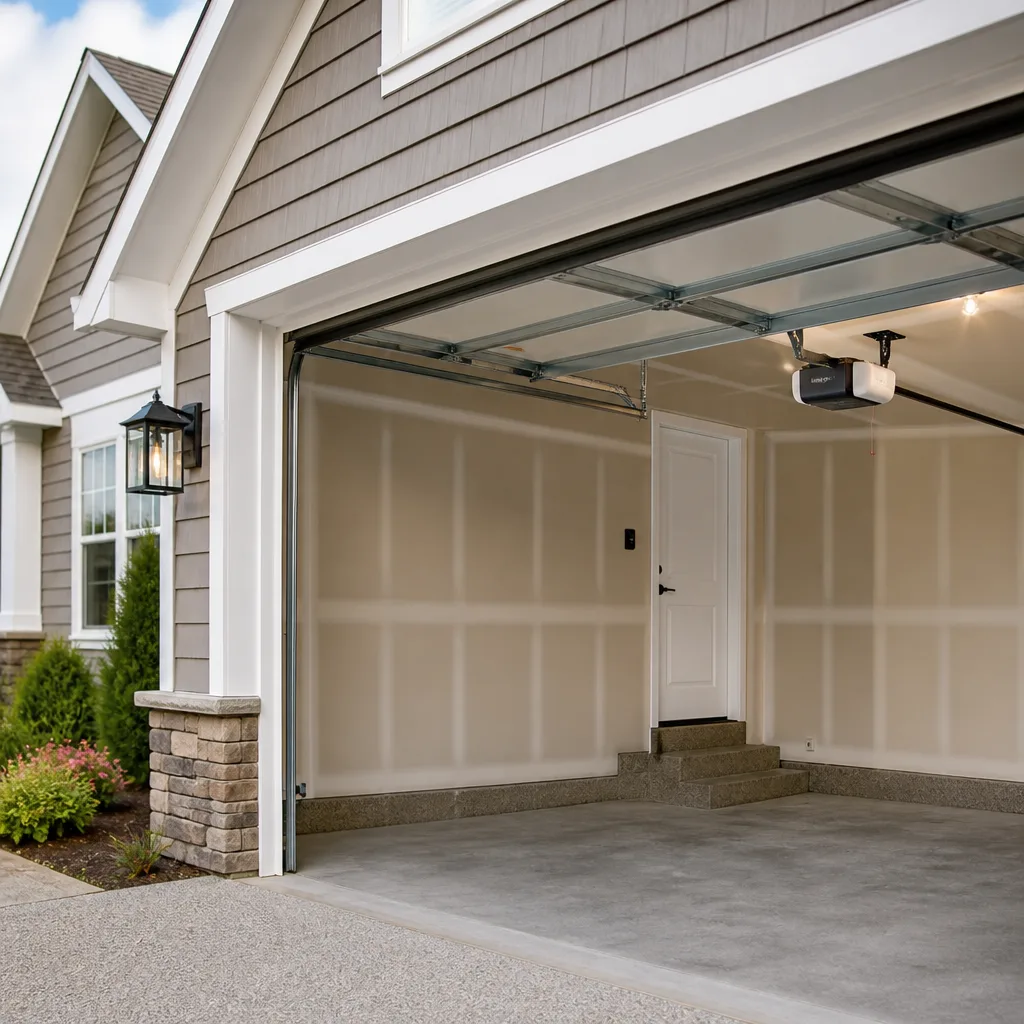 LiftMaster openers
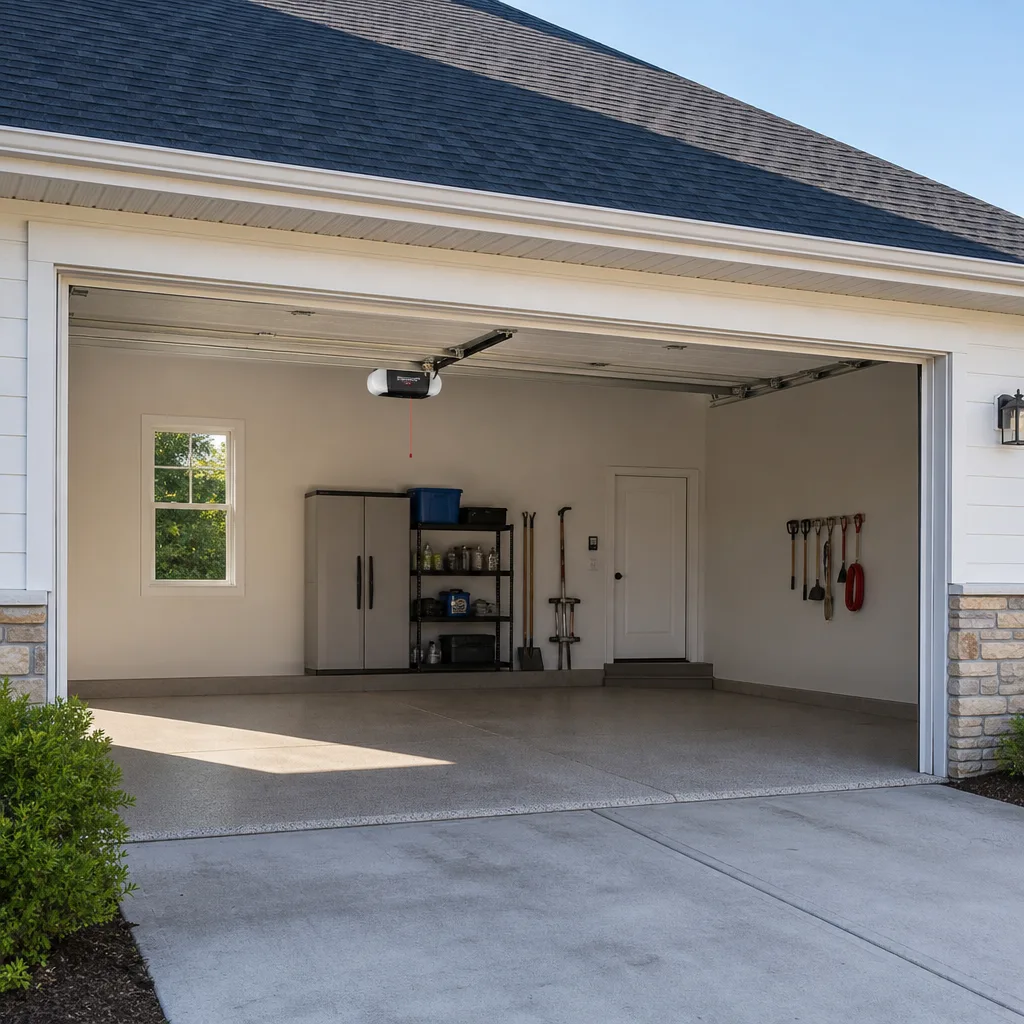 Chamberlain openers
Full 25-point door and opener safety check with every visit - springs, cables, rollers, tracks, and your LiftMaster or Chamberlain opener included
You get a price before we start. It does not change when the truck arrives.
Get your free estimateGarage Door Repair Troubleshooting: Common Problems and How to Fix Them
A garage door that won’t open is rarely just one broken part. It’s a chain reaction. The springs lose tension, which makes the opener work harder, which burns out the motor or strips a gear. Homeowners who start by replacing the opener battery have wasted $6 and an hour because they fixed the symptom instead of tracing the cause. This guide walks you through the entire system so you can diagnose problems the way a technician does: by understanding how each component affects the next one in line. For issues that require professional attention, explore our Garage Door Repair services. In Jacksonville, where humidity and salt air accelerate wear on rollers and cables, this diagnostic approach saves homeowners hundreds of dollars every year.
Styles & brands we work with
Quick Answer
Garage door repair troubleshooting means testing the system in order: first confirm power and opener function, then manually disconnect the door to check spring balance, then inspect rollers, cables, and tracks for visible wear. Most “opener won’t work” complaints are actually spring or cable failures that force the opener into overload shutdown, so diagnosing correctly starts with the door itself, not the motor.
Table of Contents
- How the System Fits Together
- The Five Most Misdiagnosed Problems
- Three Safe Tests You Can Do Right Now
- Reading Opener Error Codes Without Guessing
- Common Symptoms and Their Real Causes
- Jacksonville-Specific Wear and Tear
- The Repair Decision Tree
- Common Mistakes to Avoid
- When to Call a Professional
- Frequently Asked Questions
- The Bottom Line
How the System Fits Together: A Map Before You Touch Anything
Think of a garage door as a five-link chain. Each link depends on the one before it. When one link fails, the strain moves to the next, and the symptom you see is often two or three links away from the actual failure. This is why “the opener is dead” so often turns out to be a broken spring with a perfectly fine opener that’s just protecting itself from overload.
The Five Links
- Springs: The counterweight system. Torsion springs above the door or extension springs on the sides hold the door’s full weight. A healthy spring system lets you lift the door with two fingers. A broken spring means the door weighs 150 to 250 pounds, and no opener is designed to lift that.
- Cables: Steel cables run from the bottom brackets up to the spring shaft or drums. They transfer spring force to the door itself. When a spring breaks, the cable on that side often snaps or frays seconds later because the sudden load shift jerks it against the drum.
- Rollers and tracks: These guide the door up and back. Worn rollers cause friction, which makes the opener motor work harder, which causes overheating. Bent tracks cause the same problem with added grinding noise. In Jacksonville’s coastal humidity, steel rollers rust faster than they do inland, and nylon rollers last noticeably longer.
- Opener: The motor and rail assembly that moves the door. It has a safety system built in: if the motor draws too much current trying to move a door that’s too heavy, it shuts down or trips the limit switch. This is not a malfunction. It’s the opener refusing to destroy itself.
- Sensors and control circuits: The photo eye sensors near the floor, the wall button, and the remote control. These are the most commonly blamed and least commonly broken parts in the whole system. In our experience in Jacksonville, sensor problems account for maybe one in twenty service calls, but homeowners suspect them maybe half the time.
Here’s the key insight: always test the door before the motor. If the door is hard to lift by hand, the opener isn’t the problem. If the door floats easily by hand, you have an opener or electrical issue. Most troubleshooting starts and ends with this one distinction.
The Five Most Misdiagnosed Garage Door Problems
Here are the problems we see misdiagnosed most often across Jacksonville neighborhoods, from Riverside to Mandarin. Each one follows the same pattern: the symptom points at one component, but the cause lives somewhere else.
1. “The opener is dying” when the spring is already broken
You press the button. The motor hums, grinds, or runs for a second and stops. The door doesn’t move. Most people assume the opener is failing. In reality, a broken torsion spring means the opener is trying to lift the full dead weight of the door, which it was never designed to do. The motor trips a thermal overload or the gear strips. Replace the opener and the new one will fail the same way within weeks. The fix is a new spring, not a new motor. On Craftsman and LiftMaster units especially, this overload shutdown is loud and dramatic, which makes it easy to blame the motor.
2. “The sensors are misaligned” when a cable is binding
The door starts down, hesitates, and reverses. Classic sensor misalignment, right? Sometimes. But a frayed cable catching on the drum produces the same hesitation-and-reverse pattern because the door slows suddenly and the opener interprets the resistance as an obstruction. Check the cables before you start nudging sensor brackets. A frayed cable should be replaced immediately, not ignored, because a cable that snaps under tension is dangerous to anyone standing nearby.
3. “The door is slow” blamed on the opener motor
A door that opens slowly but steadily is almost never a motor power issue. It’s friction. Worn rollers, dry bearings, or a dragging track add resistance that the opener compensates for by working harder and moving slower. Replacing the opener won’t fix a door with seized rollers; it just makes the new opener inherit the same problem. We change rollers in Jacksonville more often than almost any other part because the humidity here combines with road dust to gum up bearings quickly. Wayne Dalton doors with nylon rollers fare better than older steel-roller setups, but even nylon wears out.
4. “The remote needs a new battery” when the wall button is the real issue
Remote dead, wall button works. Easy answer: battery. But if a new battery doesn’t fix it, and the wall button also starts acting intermittently later that day, the problem isn’t the remote at all. It’s the opener’s logic board, or more commonly a wiring short between the wall button and the motor. Swapping batteries repeatedly just burns money. If remotes that used to work from the end of the driveway now only work from the foot of the driveway, that’s a receiver sensitivity problem, not a battery problem.
5. “The door is off track” when the real problem is a broken spring on one side
A door that’s come off one track looks like a track problem. It usually isn’t. One broken spring leaves the other side taking the full load, which pulls the door unevenly and walks the rollers out of the track. Fixing the track without replacing the broken spring only sets the door up to come off again, often with more damage the second time. This is a stop-using-the-door situation. Unbalanced doors are not safe to operate.
Three Safe Tests You Can Do Right Now
These tests answer the big diagnostic question: is the problem in the door or in the opener? They’re safe when done carefully, and they’ll tell you more in five minutes than an hour of guesswork.
Test 1: The Manual Disconnect Test
- Close the door completely.
- Pull the red emergency release cord hanging from the opener rail. This disconnects the door from the motor trolley.
- Lift the door by hand using the handle. It should move smoothly and stay open about three to four feet off the ground when you let go.
- If it’s heavy to lift or won’t stay up: the problem is springs, cables, or both. Not the opener.
- If it lifts easily and stays put: the springs are fine. Suspect the opener, limit settings, or electrical supply.
This test works on any brand, from Raynor to LiftMaster to Chamberlain, because it bypasses the motor entirely. We recommend it as the first diagnostic step before any repair call.
Test 2: The Balance Test
- With the door still disconnected, lift it halfway open and let go.
- A balanced door stays where you leave it. It doesn’t rise and it doesn’t fall.
- If the door drifts up: the springs are overwound, which is rare but hard on the opener.
- If the door drifts down or drops: the springs are under-tensioned or the cables are starting to fail.
- Either way, the door is working the opener harder than it should be, and spring adjustment is a professional job.
Test 3: The Reversal Test
- Reconnect the door to the opener by running the opener until it engages the trolley.
- Place a roll of paper towels or a two-by-four flat on the floor under the door’s path.
- Close the door using the wall button.
- The door should reverse within two seconds of touching the object.
- If it doesn’t reverse, the force settings are too high or the sensors need realignment. Test once a month. In Florida, this test is especially important for households with kids, and it’s a quick way to confirm that your opener’s safety systems are actually functioning.
These three tests take less than ten minutes combined and will tell you whether you’re looking at a door problem or an opener problem. That distinction alone saves you from paying for the wrong repair.
Reading Opener Error Codes Without Guessing
Modern openers from LiftMaster and Craftsman use blinking lights to report errors. The light blinks a set number of times, pauses, and repeats. Counting those blinks tells you what the opener thinks is wrong. But here’s the part most guides skip: the error code tells you where the opener lost the signal; it doesn’t tell you why.
Common Blink Codes and What They Actually Mean
- One blink: Sensor wire open or disconnected. This usually means a wire came loose at the sensor or the motor head. Check the connections before replacing anything.
- Two blinks: Sensor wire shorted or reversed polarity. A staple through the wire or a splice that came apart often causes this.
- Four blinks: Sensor obstruction or misalignment. The photo eyes don’t see each other. Clean the lenses and make sure the small LED on each eye is lit steady. A flickering LED means the unit isn’t getting consistent power.
- Five blinks: Motor overheat or thermal protection tripped. This is where the diagnostic chain matters. The motor got too hot because it was working against a too-heavy door. Don’t just reset it. Find out what made it work that hard. Usually, it’s a spring problem.
- Six blinks: Motor circuit failure. This is an opener-level fault, but again, ask what caused it. A motor circuit that burns out is often the last casualty in a chain that started with an unbalanced door months earlier.
The pattern is this: one to four blinks point at the sensor circuit, while five and six blinks point at mechanical load. If you see five or six blinks repeatedly, the opener is telling you the door itself has a problem. Replacing the opener without fixing the door just trains a new motor to fail the same way.
Common Symptoms and Their Real Causes
Here’s a symptom-first reference for the issues Jacksonville homeowners call about most often. Match your symptom, then trace it to the cause using the tests above.
The door won’t open, but the motor hums
- Most likely cause: Broken torsion spring. The motor hums because it’s trying, but the door won’t budge.
- What to do: Pull the emergency release and try lifting the door by hand. If it’s dead weight, you have a spring problem. Do not run the opener repeatedly. That strips gears and turns a $200 spring job into a $400 spring-and-gear job.
The door opens a few inches and stops, or opens crooked
- Most likely cause: Broken spring on one side or a snapped cable.
- What to do: Stop using the door. Disconnect it if you can, leave it closed, and call a technician. An unbalanced door can jump a track and cause real damage.
The door reverses before fully closing
- Most likely cause: Sensor misalignment or force setting too low.
- What to do: Check the photo eyes. Make sure lenses are clean and the LEDs are steady, not blinking. If both LEDs are solid and the door still reverses, check for a cable that’s catching on the drum. If you’re not sure which one it is, test the door manually.
The door is noisy during operation
- Grinding: Usually metal-on-metal contact from bent tracks or completely dry rollers. Lubricate the rollers with a silicone spray, never WD-40, which attracts grime.
- Squeaking: Dry hinges or roller bearings. A silicone lubricant on each hinge pin usually quiets this down.
- Rattling: Loose hardware. Walk the track line and tighten the bolts that hold track brackets to the wall. Jacksonville’s clay-heavy soil shifts over time, and houses settle, which can work track bolts loose.
The remote works intermittently
- Most likely cause: LED bulb interference. The energy-efficient LED bulbs installed in the opener head can emit frequencies that interfere with remote signals. Swap the bulb for a garage-door-rated LED and test again. If that doesn’t fix it, check for pinched wires at the motor head.
- For LiftMaster and Craftsman units: These brands use rolling-code technology. If the remote works after you stand close and press it several times, and then cuts out when you’re further away, the receiver board may be degrading. It’s not the remote. It’s the receiver.
Jacksonville-Specific Wear and Tear
Every city beats up garage doors differently. Here’s what Jacksonville’s climate and geography do to our doors, and why brand choice matters more here than in drier climates.
Humidity and Salt Air
Jacksonville sits on the Atlantic coast, and the air here carries moisture and salt. For steel rollers, hinges, and cable drums, that means faster corrosion. We see rusted-out bearing assemblies on doors less than five years old in neighborhoods like San Marco and Ortega, closer to the river and the coast. Nylon rollers last longer here than steel, and Wayne Dalton and Raynor both spec nylon rollers on many of their mid-range doors. If your door is racking or jerky when it moves, suspect the rollers before the track.
Heat and Spring Fatigue
Torsion springs are rated in cycles, not years. A standard 10,000-cycle spring can last seven to ten years in a mild climate, but Jacksonville’s heat accelerates metal fatigue, especially in garages without ventilation. Attached garages in newer Arlington and Bartram Park homes stay hot all summer, and that heat shortens spring life. If your door is sagging on one side or feels heavy when you disconnect it, the springs are probably near the end of their cycle life even if they haven’t snapped yet.
Afternoon Thunderstorms and Sensor Interference
Florida’s summer storms bring lightning. Power surges during those storms can scramble the logic board on an opener, leaving the motor functional but the memory wiped. If your opener stops responding to remotes after a big storm, try reprogramming the remote before you buy a replacement. If that fails, the board may have taken a hit. Our Garage Door Opener Repair in Jacksonville service handles this exact scenario all summer long.
Clay Soil and Track Shift
Jacksonville’s soil is heavy with clay, which expands and contracts through wet-dry cycles. Houses settle, garage slabs shift, and the track that was perfectly plumb five years ago is now out of square by a quarter inch. That quarter inch is enough to make a door bind. If the door rubs the track on one side, check the track bolts. If the track itself is bent or shifted, a technician can realign it. Our Garage Door Repair in Jacksonville team sees this frequently in older Riverside and Springfield homes.
The Repair Decision Tree
You’ve run through the tests. You’ve counted the blinking lights. You’ve checked the springs and cables by eye. Now what?
Step 1: Can you safely fix this yourself?
- Yes, usually DIY: Cleaning misaligned sensor lenses, lubricating rollers and hinges, tightening loose track bolts, reprogramming a remote after a storm, replacing the remote battery.
- Not DIY: Spring replacement, cable repair, any work involving the spring shaft or bottom brackets, track removal, or opener motor or gear work. These involve high-tension parts that store enough energy to cause serious injury. Torsion springs, specifically, are wound under enough tension to break bones or worse if mishandled. We never recommend homeowners attempt these repairs themselves.
Step 2: Is the door safe to use while you wait for help?
- Safe to use: The door opens and closes normally but is noisy. You’ve checked the sensors, and the reversal test passes. Schedule a service call at your convenience but keep using the door.
- Use with caution: The door is slow, slightly crooked, or the remote works intermittently. Limit use to essential trips and listen for changes.
- Stop using immediately: The door is off track, a cable has snapped, a spring has visibly broken, or the door feels heavy when disengaged. A door in this condition can fall or jump track without warning. Leave it closed, unplug the opener, and call for service.
Step 3: Repair or replace?
As a general rule: if the door panel is intact and the hardware is in serviceable shape, repair makes sense. If the panels are rusted through, the door is more than 15 years old, or two or more major components have failed in the same year, compare the repair estimate against the cost of a new door. We’re candid about this. Sometimes a new door is the smarter spend, especially when the existing door is poorly insulated against Jacksonville’s heat. If you’re weighing replacement, our Garage Door Installation in Jacksonville guide walks you through the options without the pressure.
Common Mistakes to Avoid
- Replacing the opener because the spring broke. We see this at least once a week in Jacksonville. The spring snaps, the opener struggles, the homeowner assumes the motor’s dead, and a working opener gets thrown away. Test the door manually before you blame the motor.
- Lubricating with WD-40. WD-40 is a solvent, not a lubricant. It strips away existing grease and attracts dust. Use a silicone or lithium-based spray made for garage doors.
- Ignoring a reversing door by holding the wall button down. Holding the button overrides the safety reversal. If you have to do that to close your door, the safety system is failing and it’s a matter of time before the door closes on something it shouldn’t.
- Keeping using a door with a visible cable fray. A frayed cable is a cable about to snap. When it snaps, the door can jerk hard and come off the track. Don’t gamble on it.
- Adjusting spring tension without the right tools. Torsion springs are under extreme tension. The winding bars, the right technique, and experience all matter. We’ve seen the aftermath of DIY spring work that went wrong, and it’s not a risk worth taking.
- Buying a new remote without checking for interference. LED bulbs, nearby radio equipment, even some home security systems can scramble remote signals. Test before you spend.
- Skipping the balance test for years. A door that drifts down when disconnected is telling you the springs are fatiguing. Catch it early and you replace springs on your schedule. Ignore it and you replace springs plus a stripped gear when the opener finally overloads.
When to Call a Professional
Some repairs are genuinely do-it-yourself. Others are not. Call a technician when the door is off its track, when a spring or cable has broken, when the door is visibly crooked, or when the opener makes grinding noises that persist after lubrication. These conditions involve stored mechanical energy in the springs and cables, and working on them without the right training and tools can cause serious injury. If you’re in Jacksonville and need an honest diagnosis, Main Street Garage Door Repair home is our full company overview with details on how we work. We offer free estimates, and we’ll tell you plainly whether a repair or a replacement makes more sense. Call (833) 467-4139 to schedule a visit.
Frequently Asked Questions
Disconnect the door with the emergency release and try lifting it by hand. If it feels extremely heavy or won’t stay up, the spring is broken or severely fatigued. You may also hear a loud bang from the garage when the spring snaps, which sounds like a firecracker.
The emergency release has been pulled or the trolley has come disengaged from the carriage. Reengage the trolley by running the opener until it locks back in. If the motor runs and the trolley is connected but the door still won’t move, a broken spring is the likely culprit.
Spring replacement in Jacksonville typically runs between $180 and $340 depending on the spring size, cycle rating, and whether you need one or both springs replaced. We always quote the price before starting work, and we recommend replacing both springs at once since they share the same cycle life. Call (833) 467-4139 for a free estimate.
No. A broken spring means the door weighs 150 to 250 pounds with no counterbalance. Using the door puts dangerous strain on the opener, the cables, and the track, and it can fail catastrophically. Leave the door closed and call for service.
Nine times out of ten, the photo eye sensors are misaligned or obstructed. Check that both sensor LEDs are lit steadily and clean the lenses with a dry cloth. If the LEDs are solid and the door still reverses, the close-force setting may be too low, or a cable is binding.
We work on LiftMaster, Chamberlain, Genie, Clopay, Amarr, Wayne Dalton, Craftsman, and Raynor. That’s eight brands with different designs, different spring systems, and different failure patterns. Knowing the brand tells us where to look first, which means a faster and more accurate diagnosis.
The Bottom Line
Garage door troubleshooting works when you follow the chain of cause and effect. Test the door before the opener. Check the springs before the sensors. Count the blinking lights and match them to the mechanical load, not just the electrical circuit. Most problems trace back to spring fatigue, worn rollers, or moisture damage, and fixing the source costs less than chasing the symptom. For more guides & resources, visit our blog. That’s the approach we use on every call in Jacksonville, and it’s the reason we start every estimate with a diagnosis, not a sales pitch. If your door isn’t working right, the tests in this guide will tell you a lot before you ever pick up the phone. When you’re ready for a professional, we’re here.
Written by the team at Main Street Garage Door Repair, serving Jacksonville since 2018.
See the difference
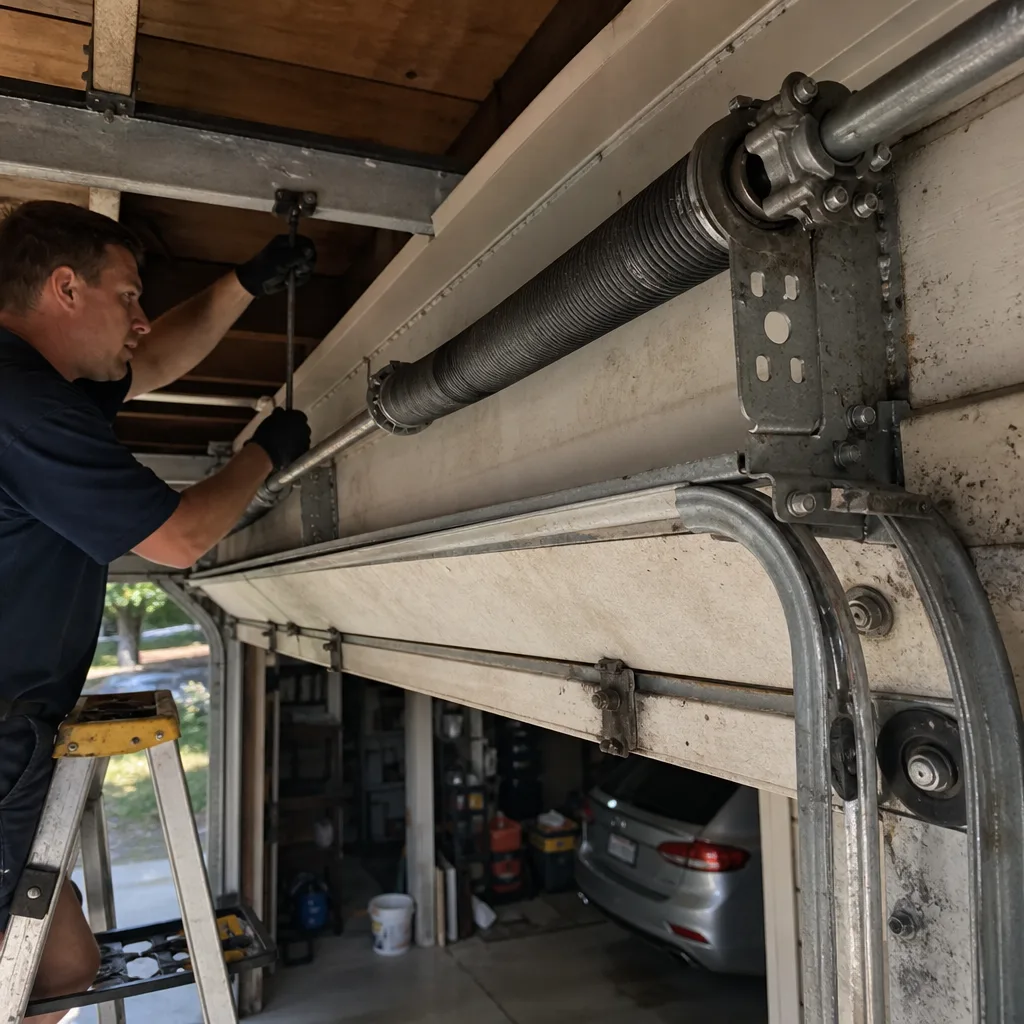 Before
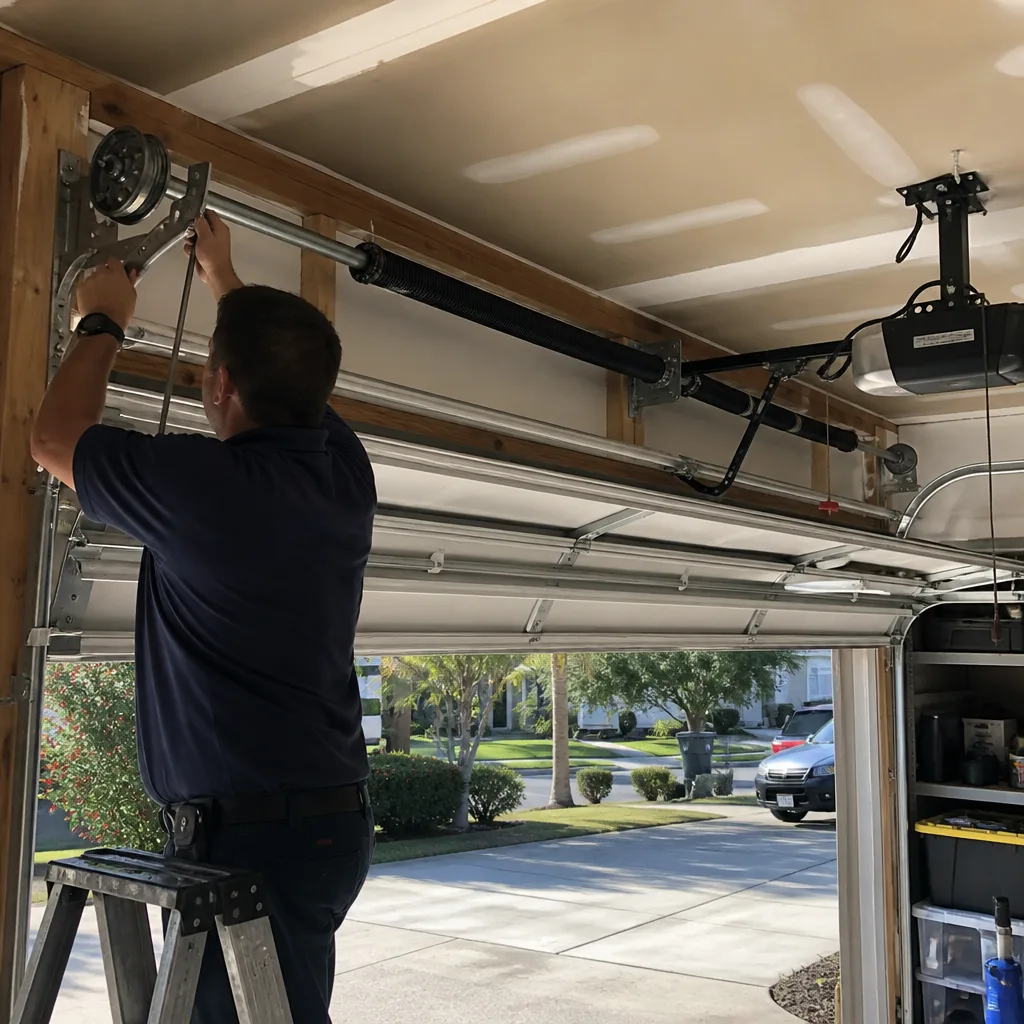 After
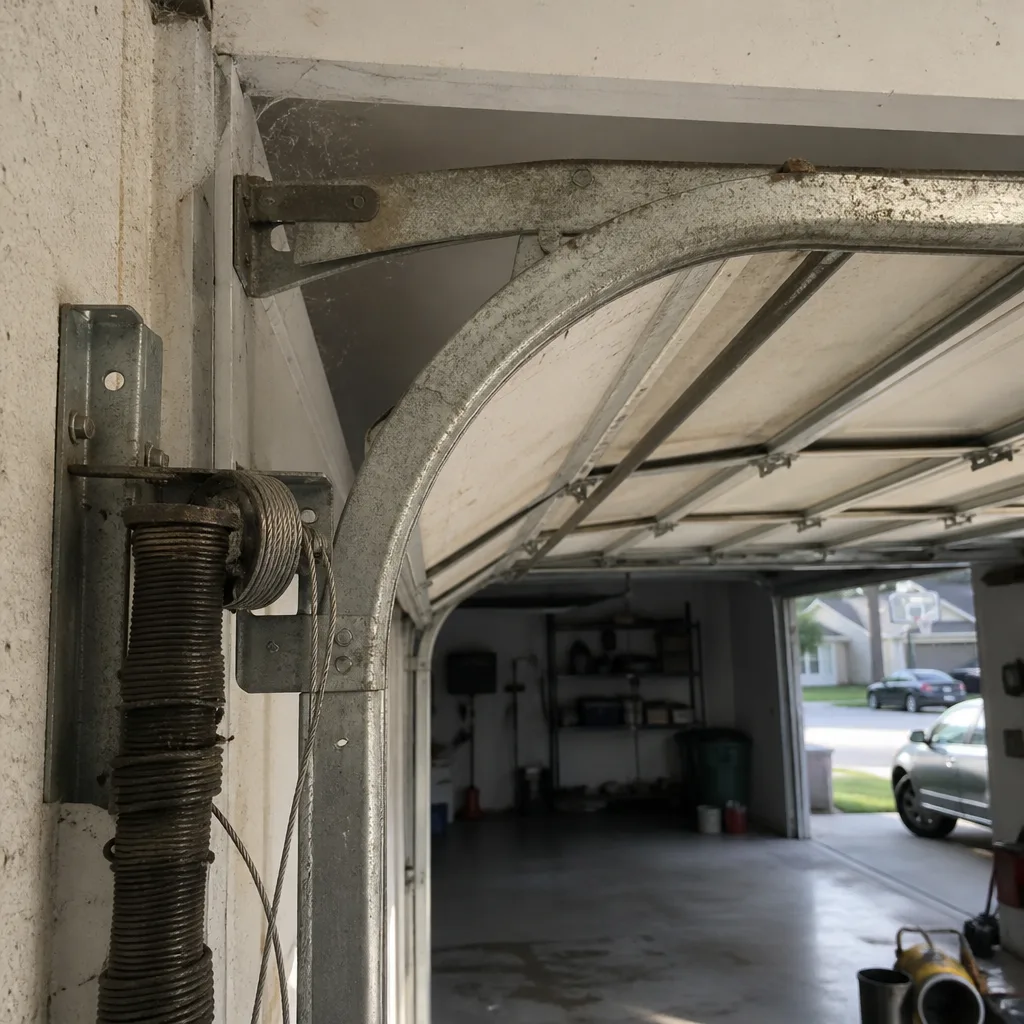 Before
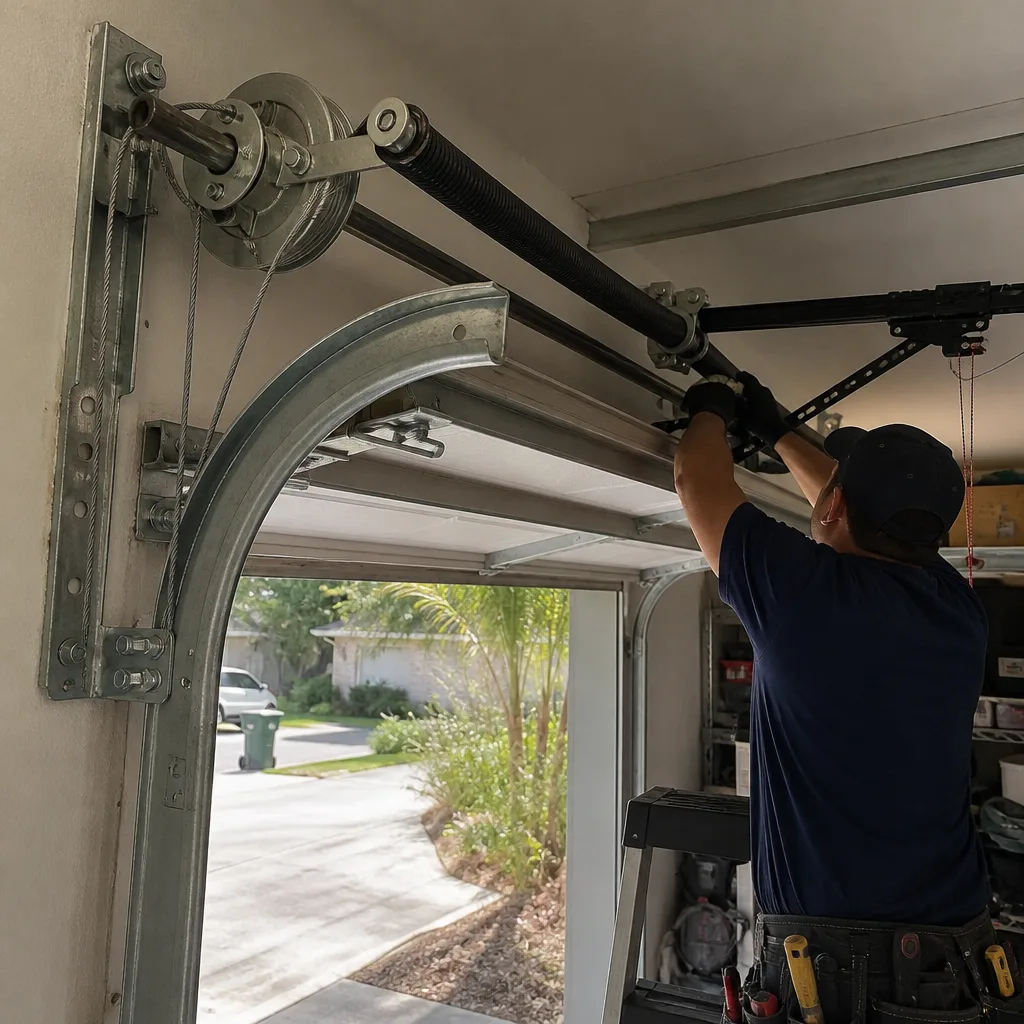 After
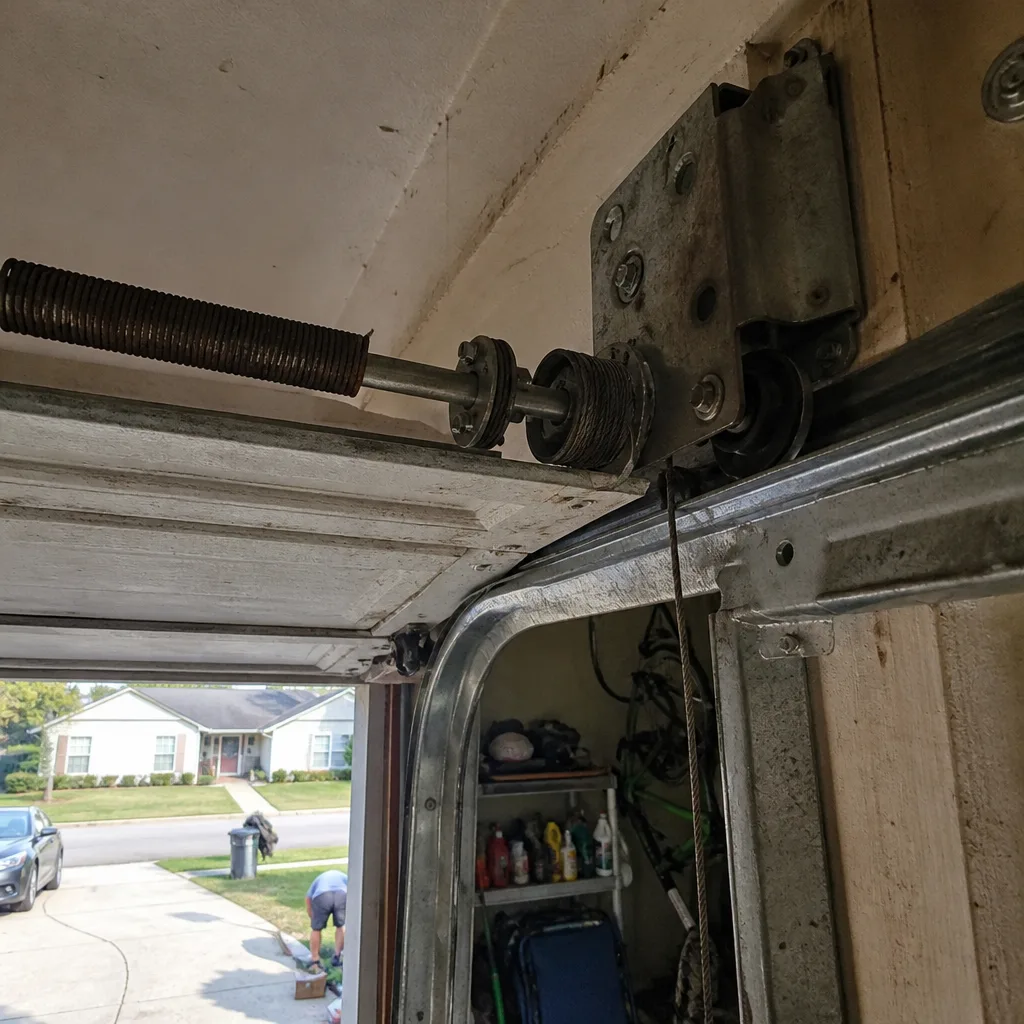 Before
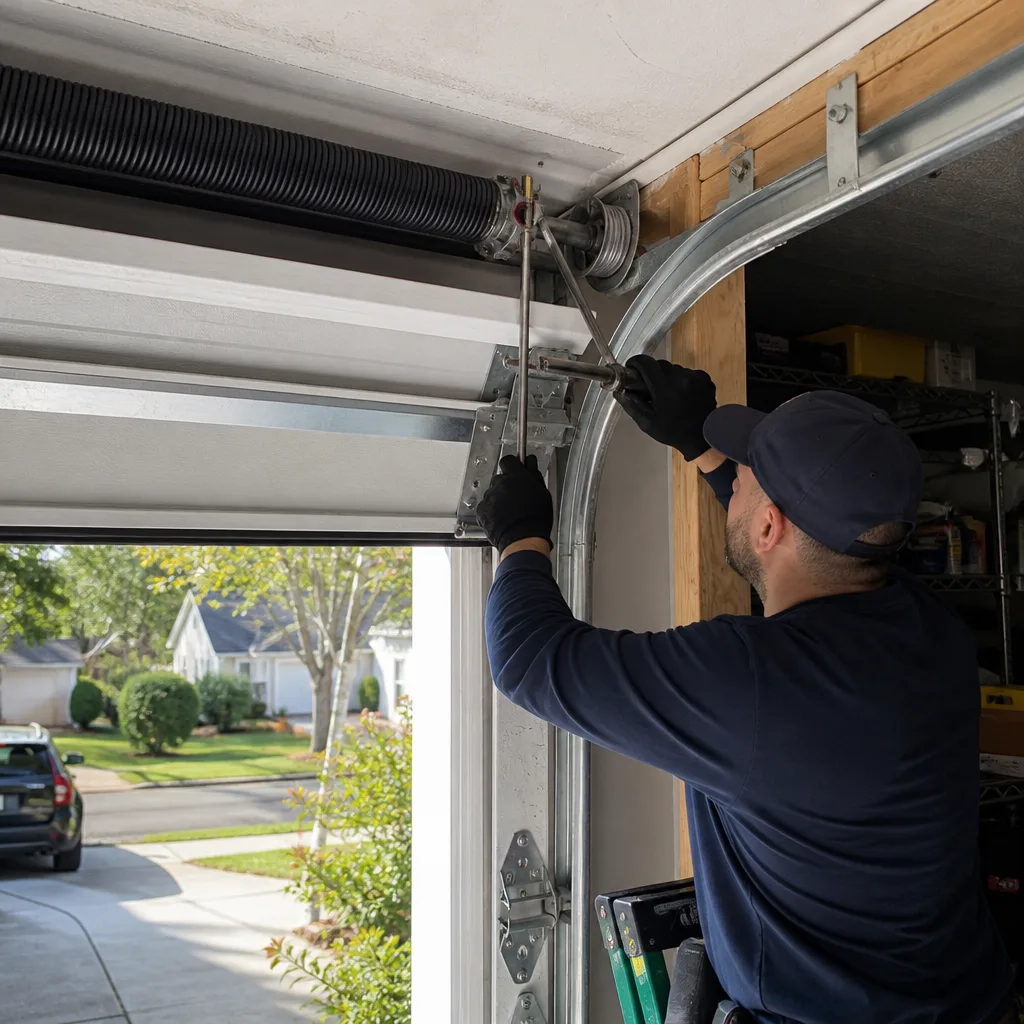 After